Welcome to the Semrush Content Toolkit!
Follow these simple steps to set up your account and start generating high-ranking content.
Step 1: Access the Content Toolkit
Find the Content Toolkit by following this link.
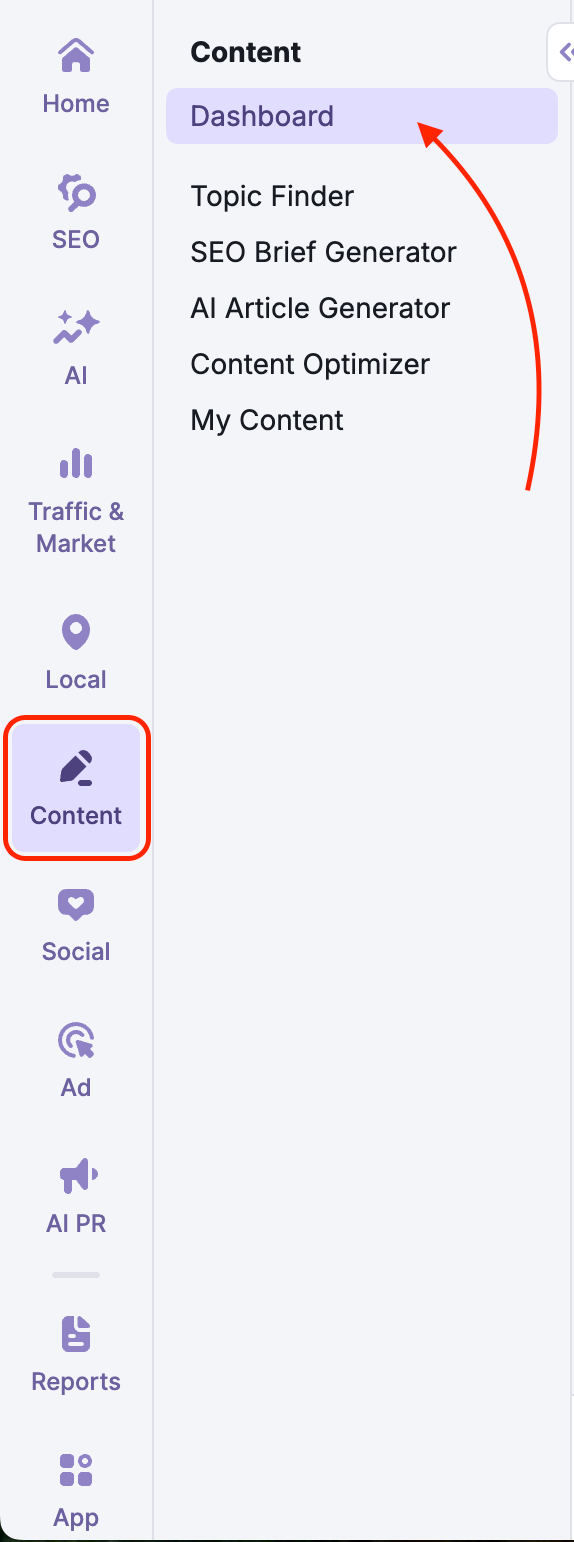
Alternatively, log in to your Semrush account. From the left-hand navigation menu, select “Content.”
Step 2: Create Your Content
You can start creating right away using the Content dashboard. There are two primary ways to begin:
- Quick Generation: Simply enter your title, topic, or keyword into the main text field and click Generate.
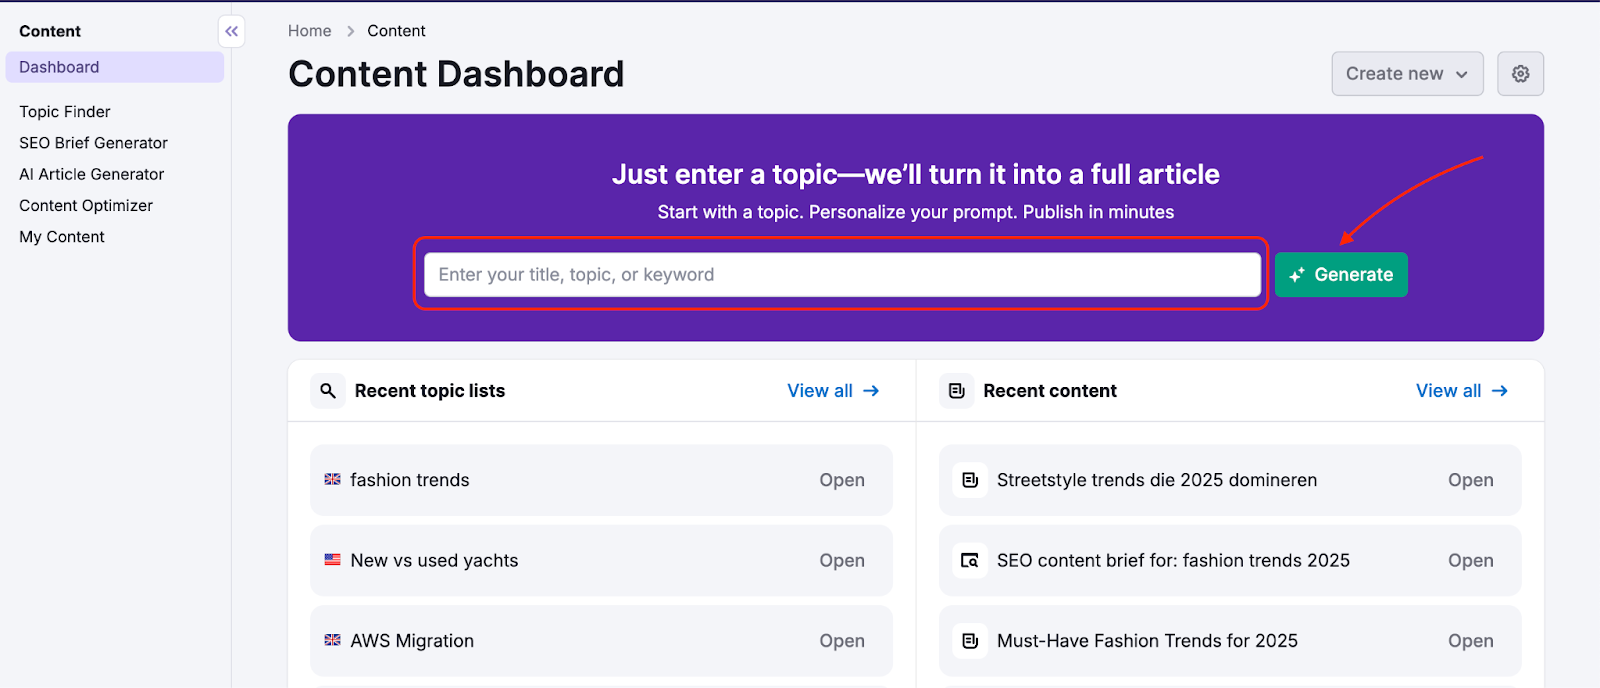
- The "Create new" Menu: Click the Create new button in the top right corner to access a dropdown menu of all available tools.

From here, you can select:
- AI-generated article: Generate a full SEO-rich article on your own topic or title.
- SEO brief: Get a brief with instructions for your content.
- Social media post: Boost engagement with your audience.
- Content to optimize: Enhance your drafts to boost engagement and SEO.
- Topic ideas list: Discover new topics to write about.
Step 3: Explore the Content Dashboard
Below the main text field, you can see an overview of your current work.
- Recent topic lists: View your saved topic research.
- Recent content: Access your previously generated articles, briefs, and drafts.

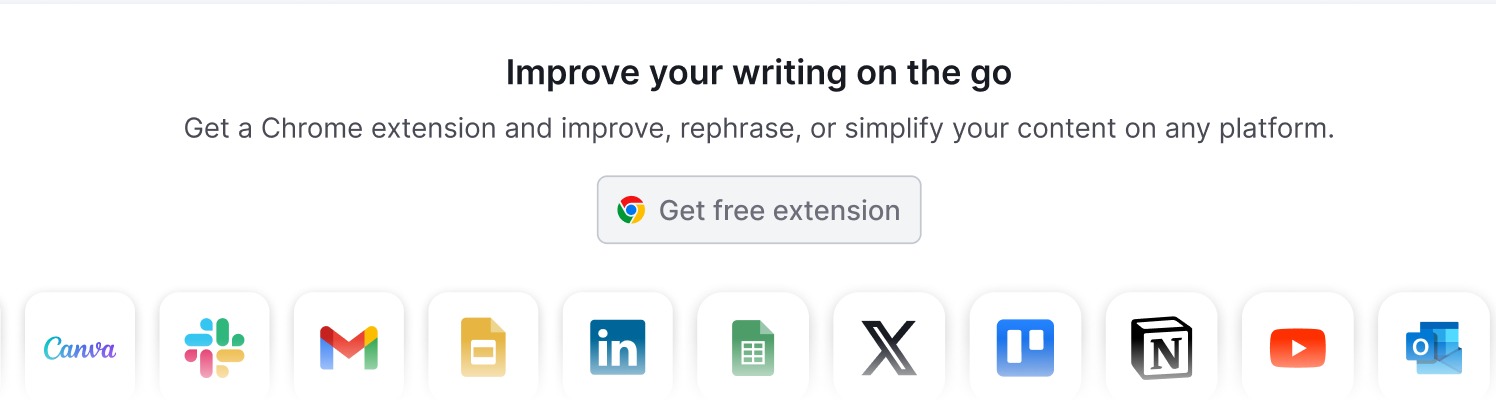
You can also access your Chrome Browser extension by scrolling all the way down and clicking “Get free extension.”
Step 4: Manage Settings
From the Content Dashboard, click the Settings icon in the upper-right corner to view the configuration of your account.

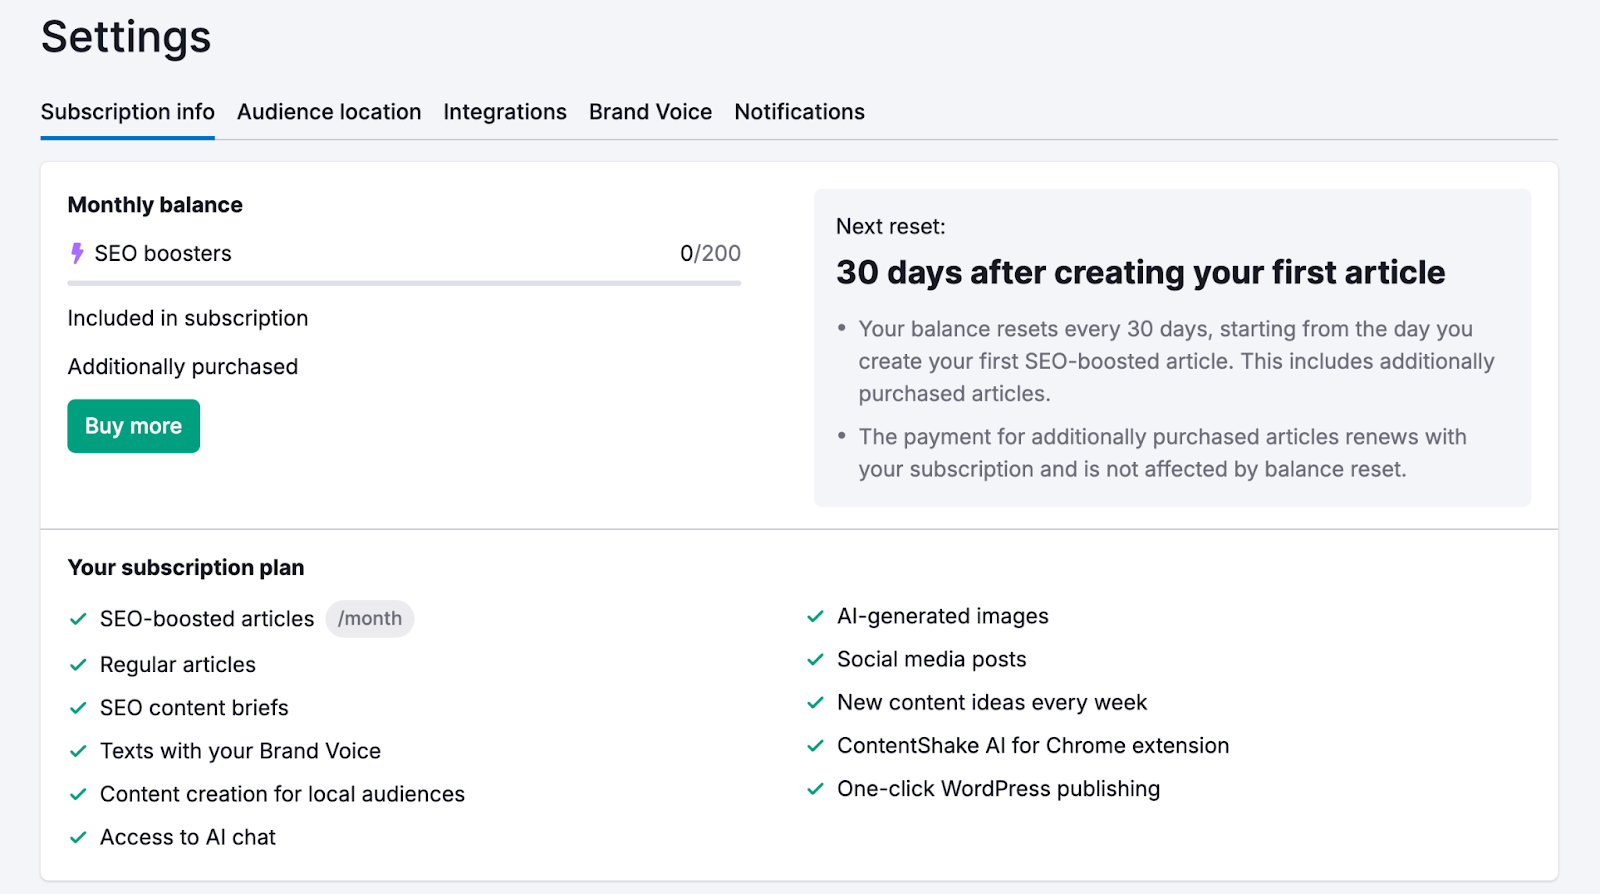
Subscription Info
On the Subscription Info tab, you can review your current plan and the SEO boosters you have left this month.
Here, you can review your current plan and the SEO boosters you have left this month.
These are articles created with advanced SERP analysis, meaning your chances of rankings will increase even further.
You can always purchase additional credits by clicking “Buy more.”
Audience Location
You can set a default location and language for your content.

Integrations
WordPress Integration
You can publish articles directly to your WordPress site with the one-click WordPress publishing feature.
To connect your WordPress account:
- Go to Settings and click the Integrations tab.
- In the WordPress.org section, click Install Plugin to begin the connection, or click Learn how to connect for detailed instructions.
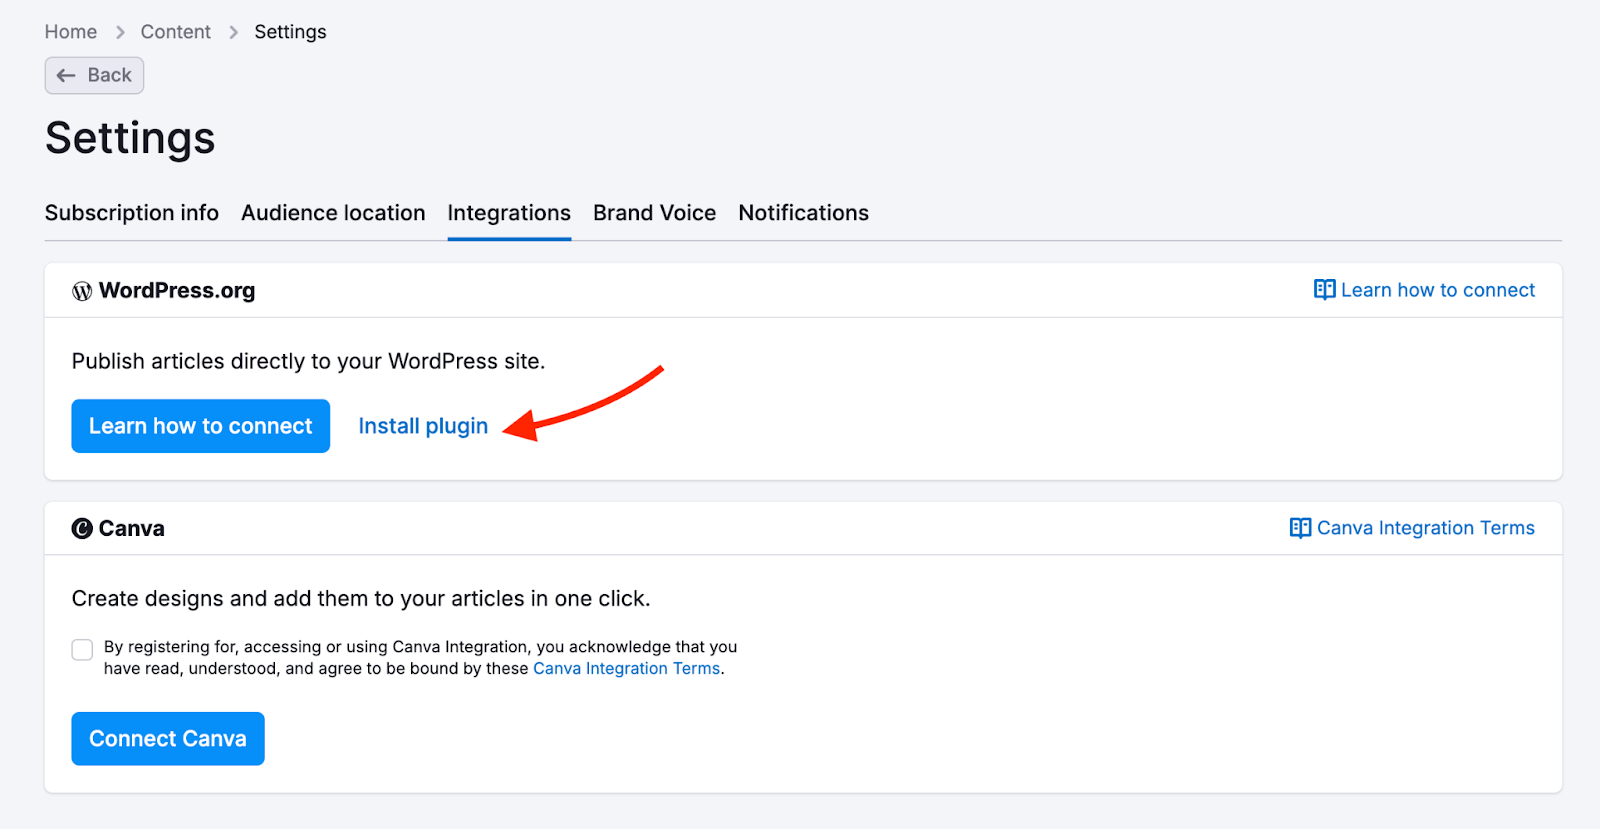
Canva Integration
The Canva Integration allows you to easily paste your designs into your articles with one click.
To connect your Canva account:
- Go to Settings and click the Integrations tab.
- In the Canva section, click the Connect Canva button.

You can also connect from the My Content section by selecting the Image option.

If you need to disconnect or switch your linked Canva account, you can do this from the Integrations tab in Settings.
Notifications
Click the Notifications tab to manage alerts for the Content Toolkit. You can configure two types of notifications:
- Push notifications: Toggle on "Get notified when your article is ready" to receive browser push alerts for finished articles.
- Email notifications: Manage your email preferences by clicking "Go to Settings" to adjust alerts in your main profile settings.

Step 5: Create Your Brand Voice
Finally, head to the Brand Voice section within Settings to start writing content that sounds exactly like you.
All you need to do is upload your writing sample(s) and click “Create Brand Voice.”

The tool will generate a brand voice description, as well as audience personas description, and demonstrate how it will adapt its writing style to fit it.
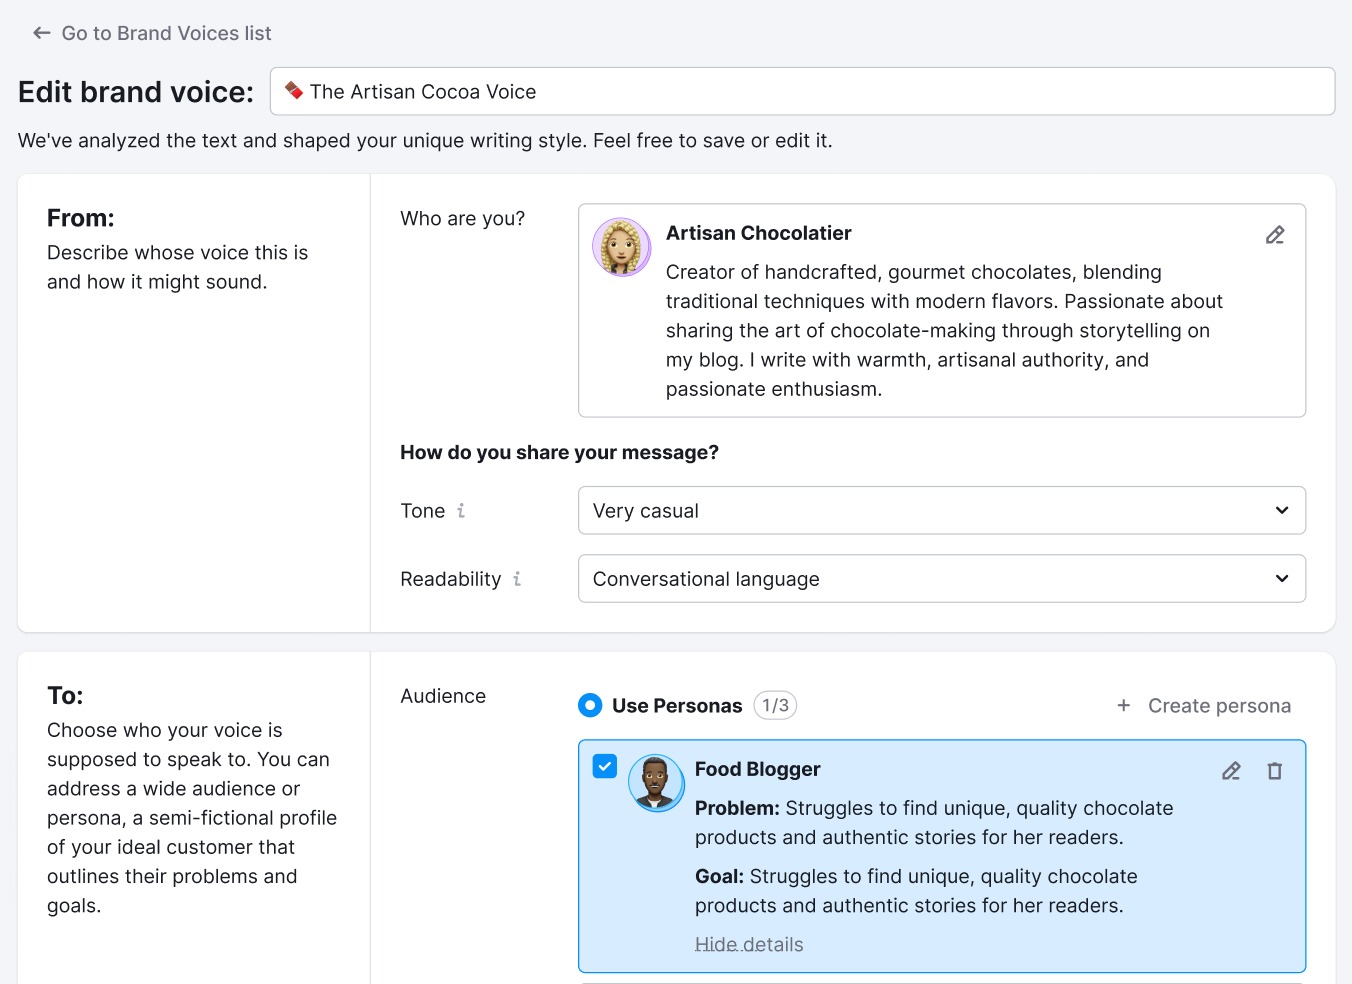
Click “Save changes” to save the brand voice. You can also set it as the default voice across all content.

Next Steps
Now that you’re all set up on the Semrush Content Toolkit, you’re ready to start: