Creating PDF reports in Semrush is a flexible way to present your marketing data in a clear, professional format. Whether you’re building a report for a client or internal review, the My Reports tool makes it easy to tailor your report to your goals. This guide walks you through the essentials of building your PDF report.
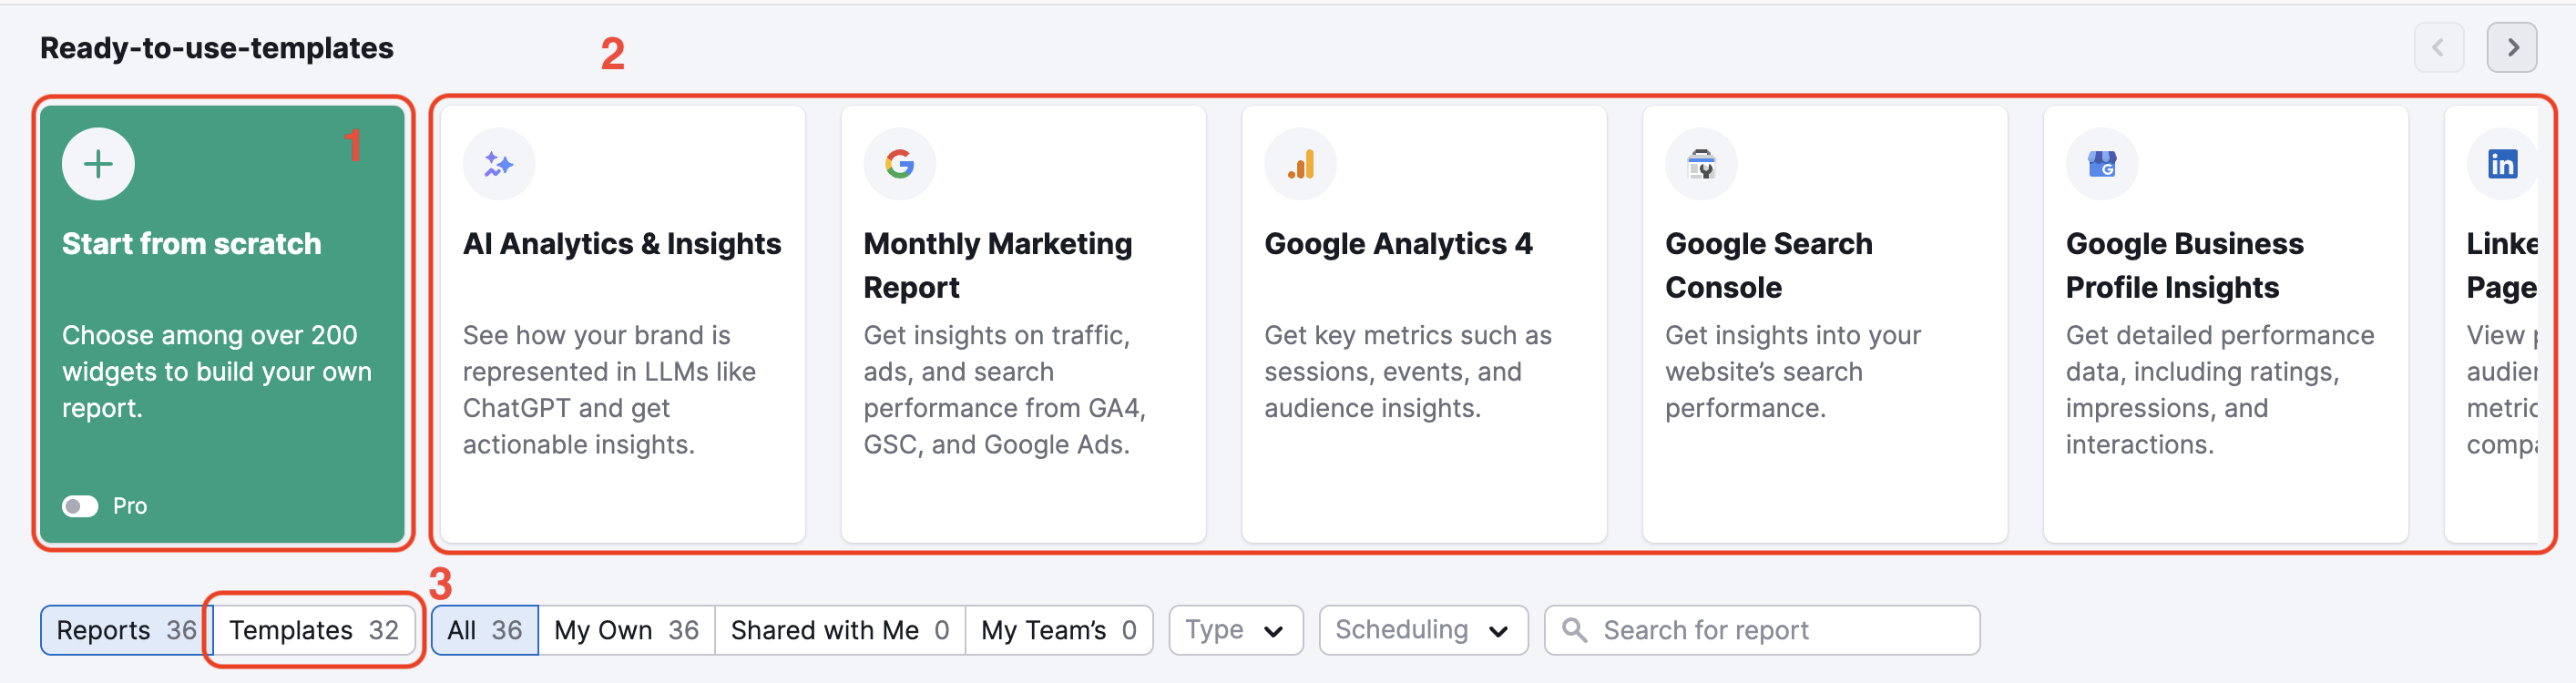
When creating a new report, you can choose to start from scratch (1), use a pre-existing template (2), or create your own custom template (3).
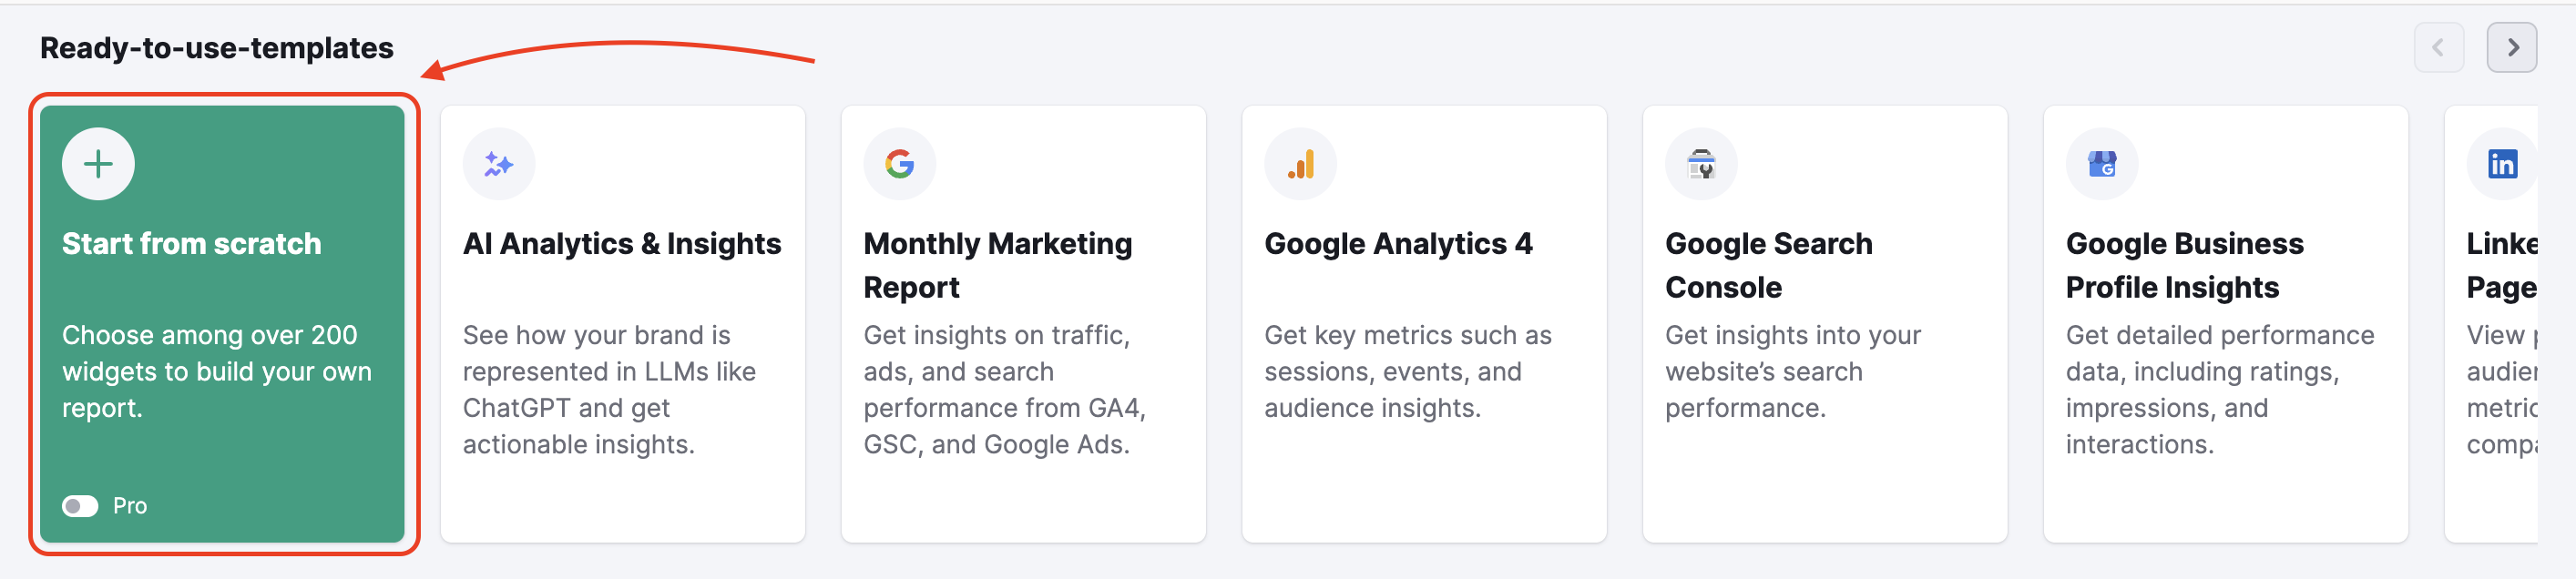
From Scratch
To create a new report from scratch, navigate to the Template gallery and click on the Start from scratch section. This opens the Report Builder, where you can populate your report with modules of Semrush data and custom images.
Ready-to-Use Templates
Each report template includes specific reports based on some of Semrush’s most popular tools. We have templates for AI Analytics & Insights, Marketing Report, Monthly SEO Report, Google Analytics 4, Google Search Console, Google Ads, Facebook Page’s Performance, Meta Ads, Domain Comparison, full Site Audit report, and more. If you think there is a particular template that Semrush does not currently have available, you can suggest one to Semrush.
To use a template, select the one you wish to work with from the menu and enter the domain and database you are reporting on. If a report was shared with you by another user, you can use it as a template as well.
After you enter that info, Semrush will populate the template with data from your domain and database. Then, you can continue to customize your report in the Report Builder as if you were making it from scratch.
Custom Template
To create your custom template for client reporting, click the gear icon and select the “create template” option from the drop-down menu. Once you create your custom template, you will find it in the template tab of My Reports.
It’s important to note that once you save a custom template, you cannot change it or save it over it. However, you can add widgets to the template for one-time reports.
Let’s say you create a custom Site Audit template with two widgets: Site Audit Overview and Issues. You will be able to add additional widgets to this template to export a more in-depth report. However, once you run the report and leave the template, it will revert to the original widgets.
Drag and Drop
To customize the content of your report, drag and drop elements from the left menu panel into the Report Builder.
You can preview what the widget will look like within your report by hovering over the info icon located to the right of every widget. As you drop the widget into your report, you can set the parameters, such as keyword, domain, database, time frame, etc., based on what data the widget pulls from the platform.
Adding Images
Just like inserting a custom logo onto the cover of your custom report, you can also add images to the body of your report. To enter an image into your report, just drag the image widget from the toolbar on the left to your report. Once the widget is dragged over, you can select any image from your computer to upload to the report.
This is perfect when creating more in-depth reports if you want to include a screenshot from another analytics tool you use. Or, include an image of a client’s product next to data about its performance to make a more visually appealing report.
Note: If you want to include data that Semrush has not integrated yet, as a workaround, you can include it as a screenshot.
Cloning Widgets
To speed up your report creation process, you can clone any widget within the Report Builder. This is especially useful when you need multiple widgets with similar configurations.
To duplicate a widget, click the gear icon in its top right corner and choose “Duplicate” from the menu. A copy will appear below the original with the exact same settings and size. From there, you can make minor adjustments to the new widget without needing to build it from scratch.
Note: When working in a shared report, if you clone a widget that was added by another user, you will be prompted to connect your own data source for the new widget.

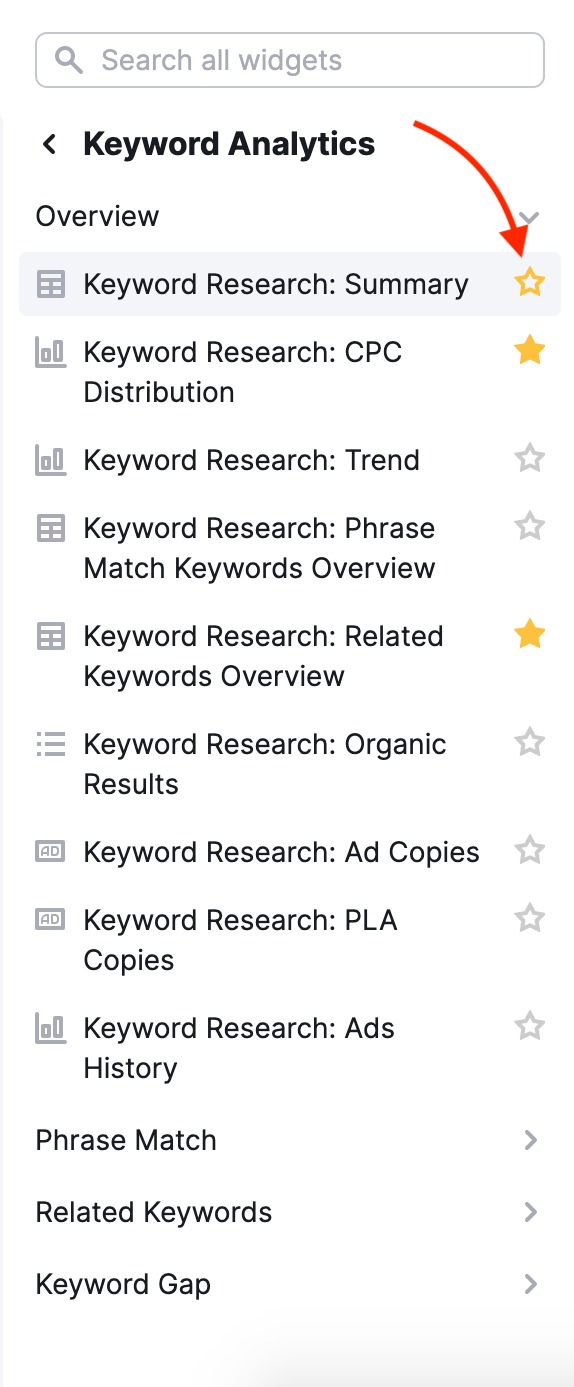
Favorites Tab
Are there certain widgets that you use more than others? The favorites tab will save your go-to widgets, making it easy to create new reports from your favorite reports or tools. To mark a particular widget as a favorite, click the star icon directly to the right of each widget.
Copy and Bulk Edit
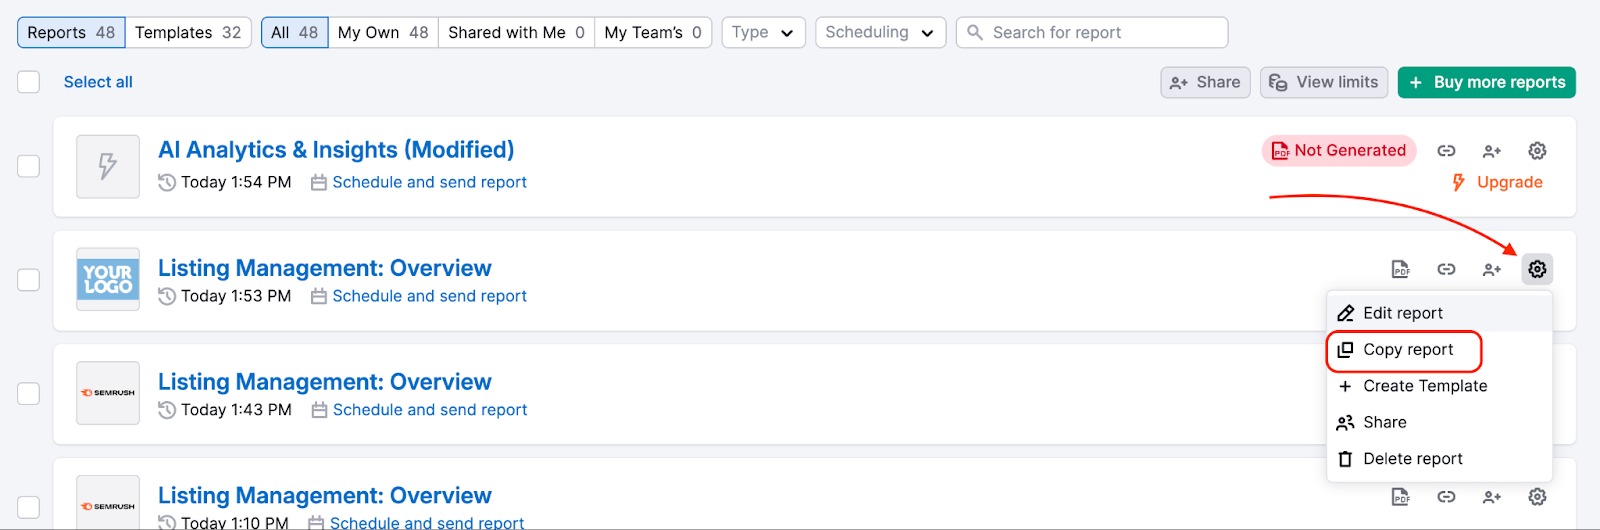
Need to reuse and update an existing report? You can easily clone it and update data sources in bulk using the “Bulk edit” feature. To get started, click the settings gear icon on the report you want to copy, then select “Copy report.”
Open the cloned report and click “Bulk edit” at the top.
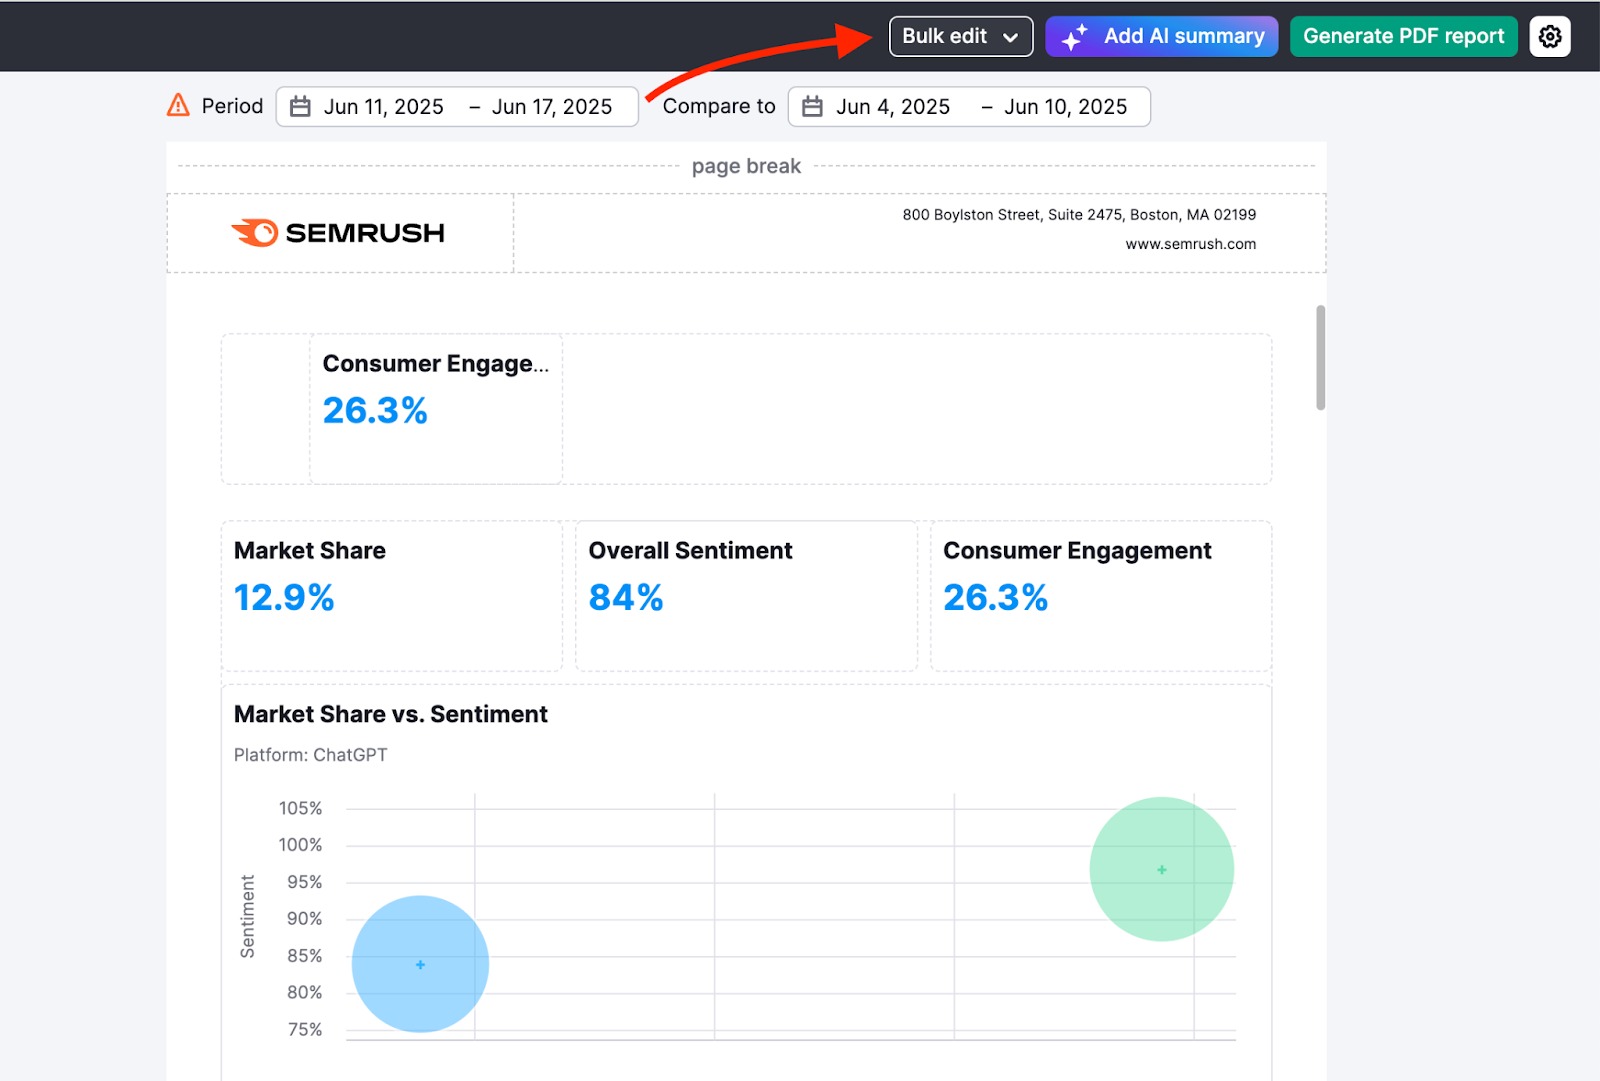
Bulk edit lets you update data source settings across multiple widgets within the same integration—saving you time and effort compared to editing each widget individually. This is especially useful when working with complex reports or templates that contain many widgets.
Note: This function will not be available for reports that are currently shared. To clone a report, you must stop sharing it first.
Bulk Deleting Reports
Use the checkboxes on the left side of the report list to select all the reports you wish to remove. Then, click the Delete button that appears at the top of the list. This allows you to clean up your list and save time on routine maintenance.
This function works for all reports, including any that have been shared with you.
Note: If you delete a report that was shared with you, this only revokes your access to it. The report will not be deleted from the owner's account.
